
Using file upload bodies
NOTE: This is available only for select users. If you're interested in enabling this, please reach out to us at enterprise@kusho.ai or your RM.
Kusho supports file uploads for API test suites, including binary uploads and multipart form-data file uploads. You can use this while running a test suite directly, or when the test suite is used as part of an E2E workflow.
Please update the Kusho browser extension to version 1.19 or above and refresh the page to access file upload features.
New test suites
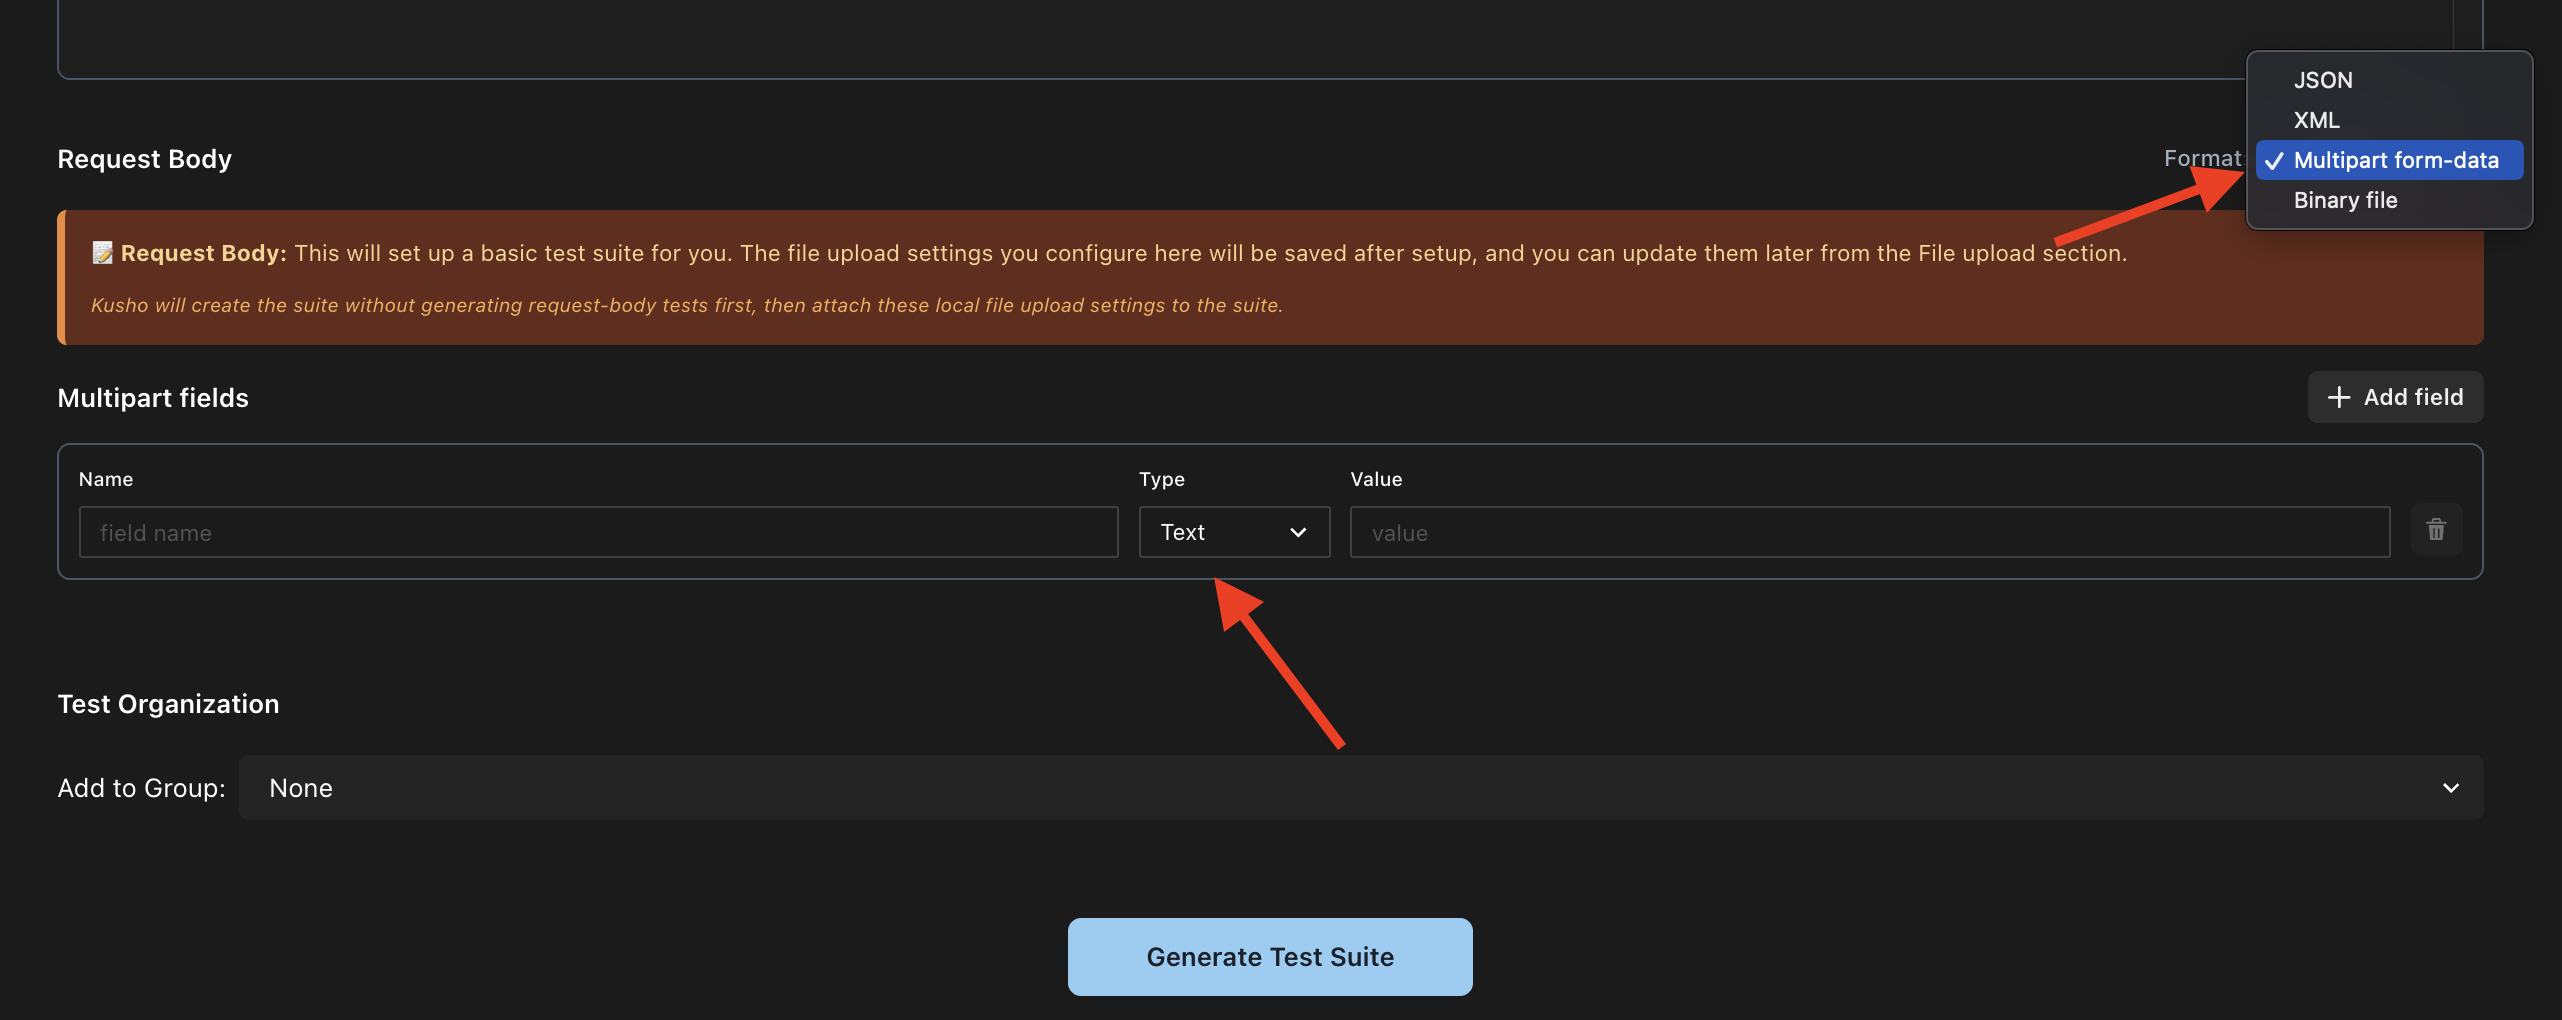
To set up a new test suite with file upload, use "Create test suite" -> "Enter API details". In the request body section, choose "Binary" or "Multipart form-data" and configure the files there.
Existing test suites and E2E workflows
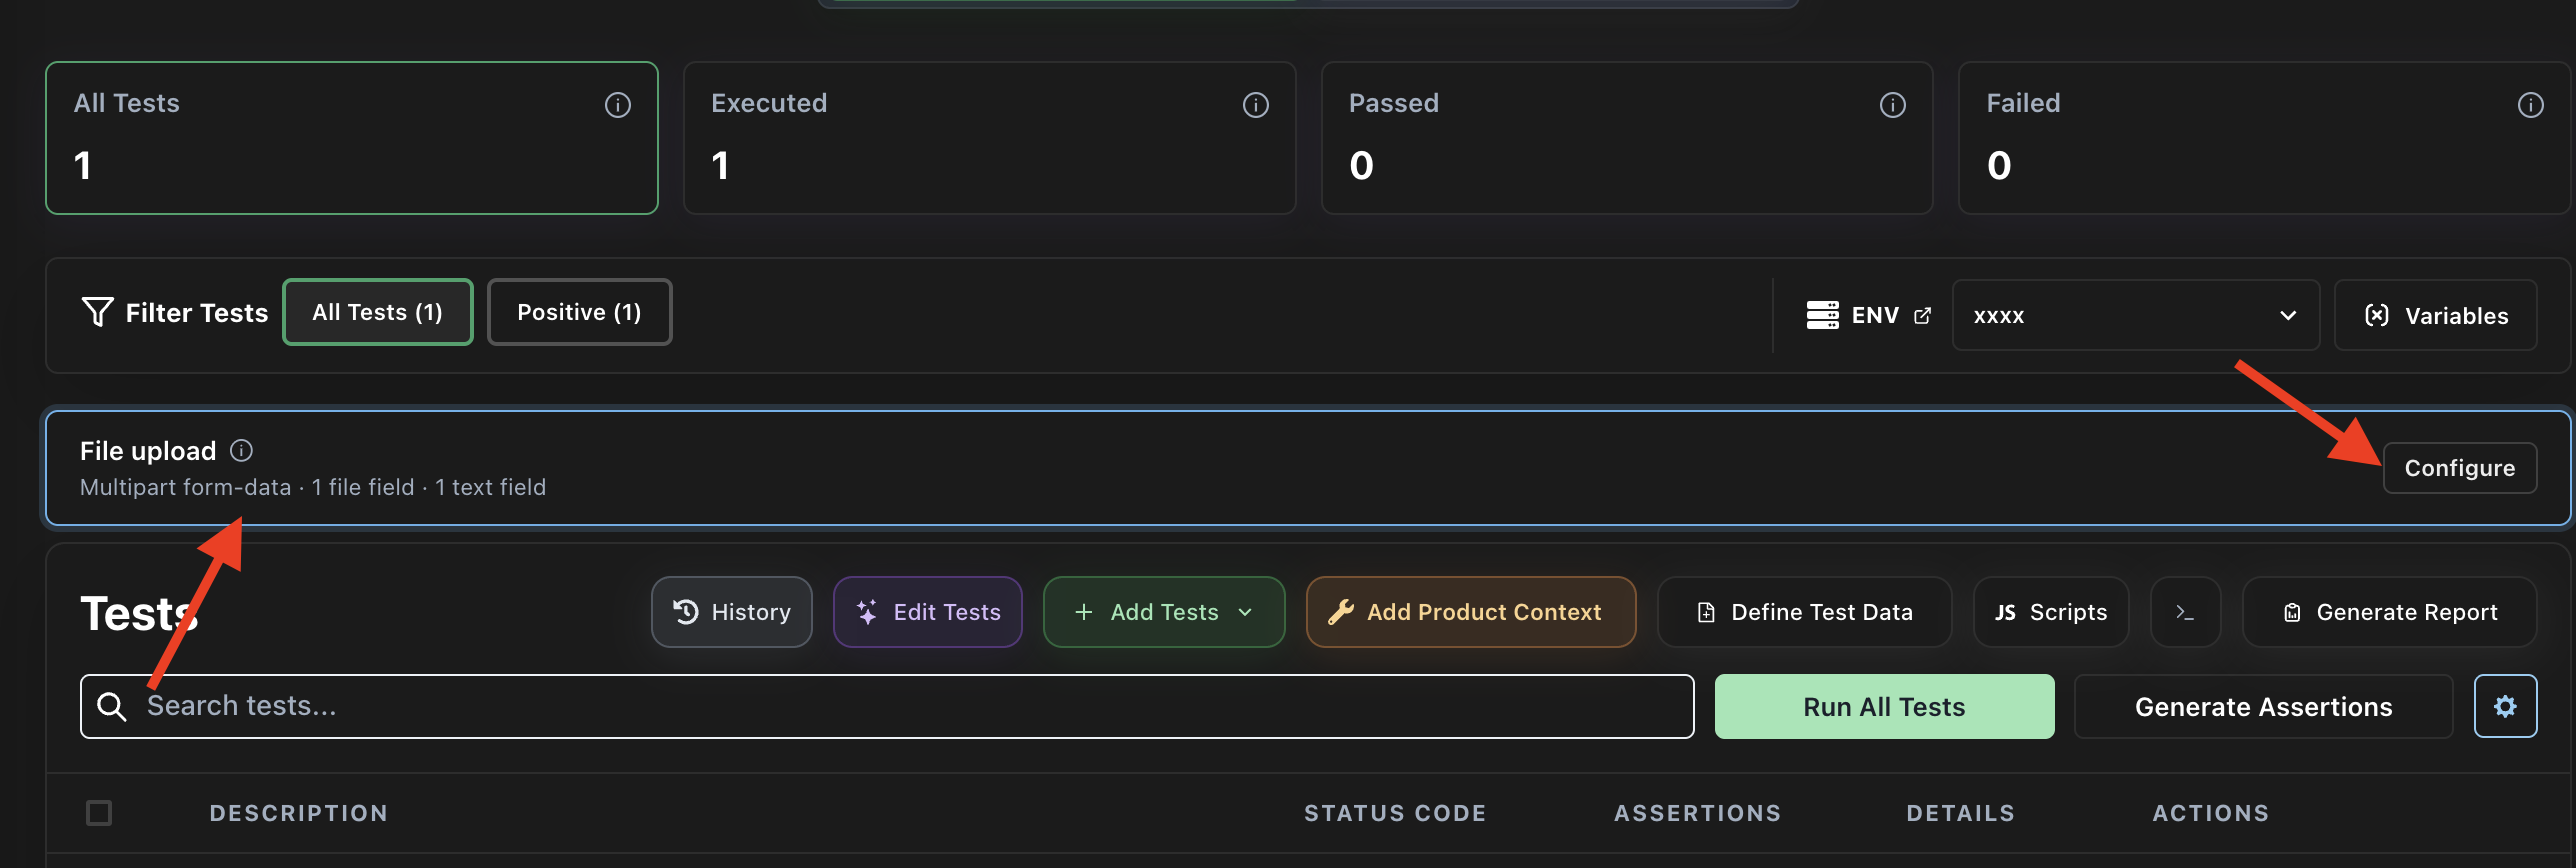
For an existing test suite, configure file uploads from the "File upload" section on the test suite page.
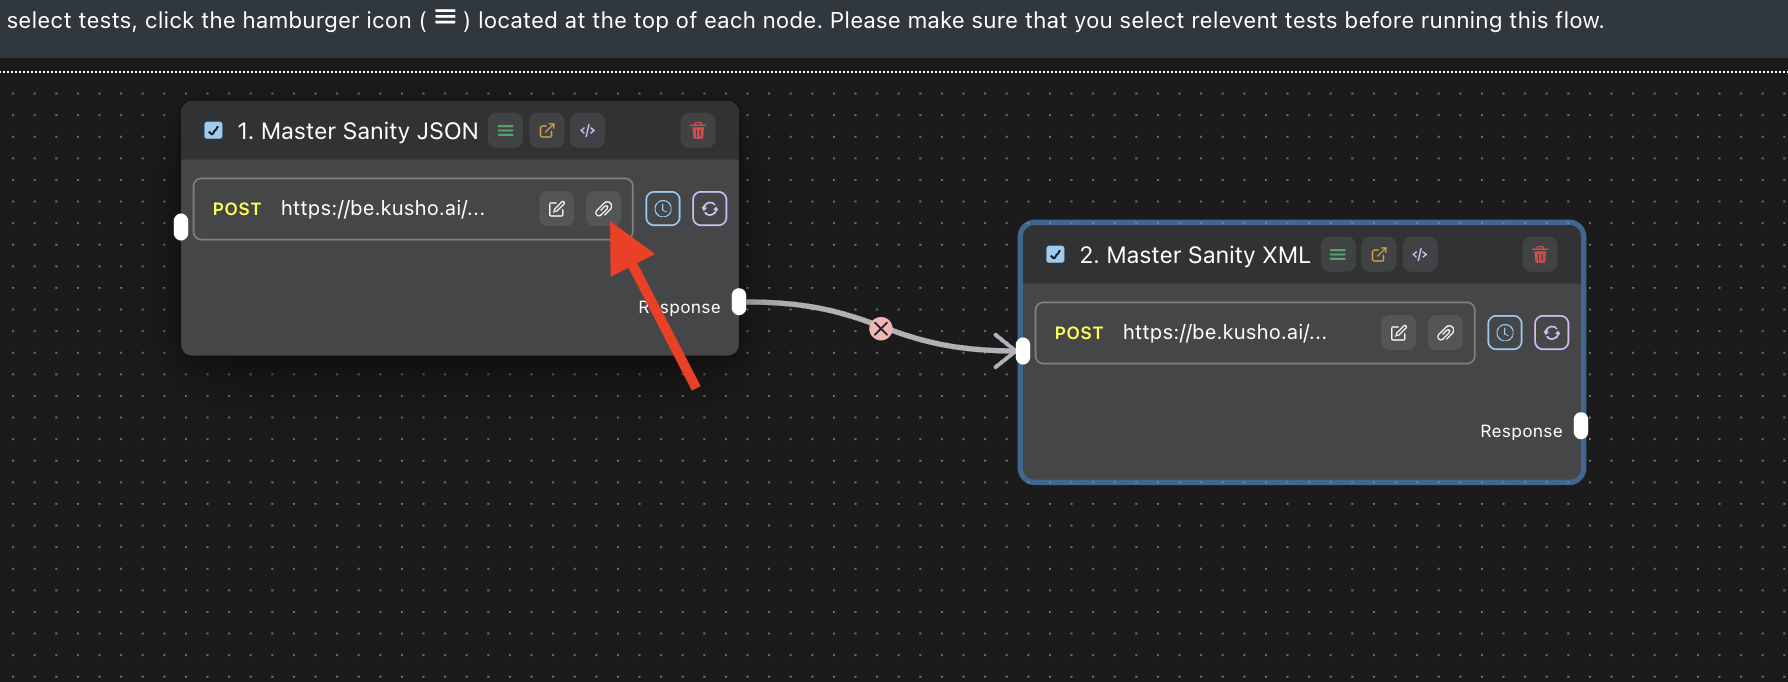
In an E2E workflow, use the file icon on a node to configure file upload for that test suite.
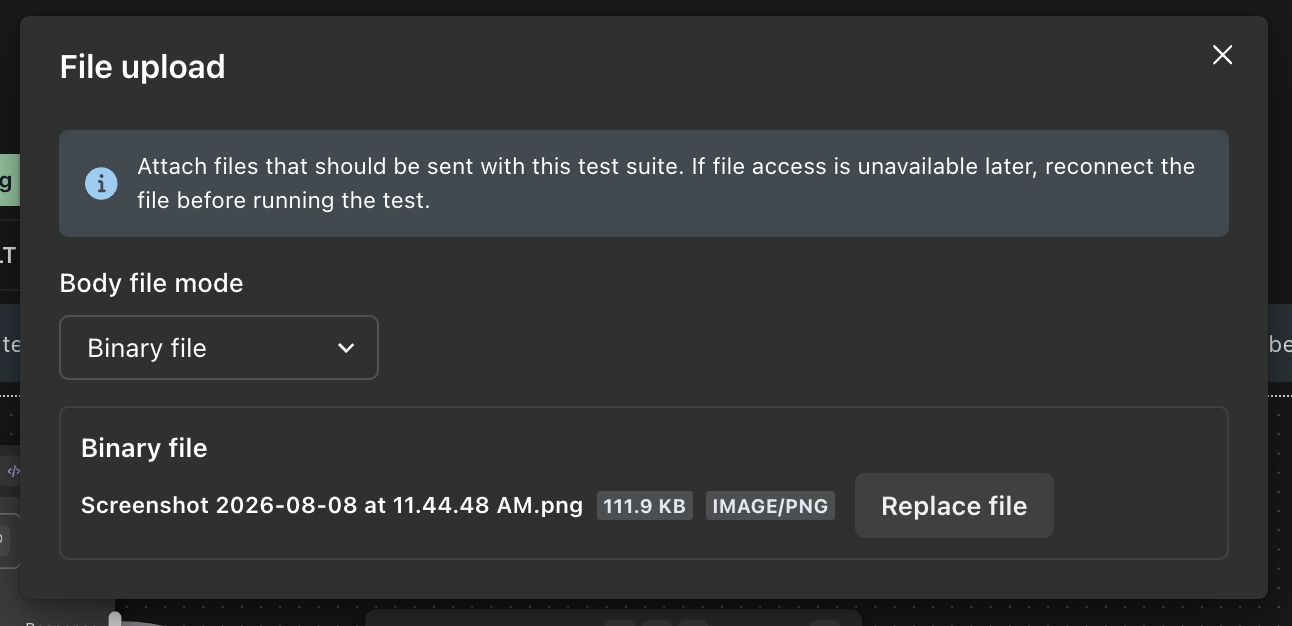
For binary file upload, select "Binary" from the body file mode dropdown and attach the file. The selected file is sent as the request body.
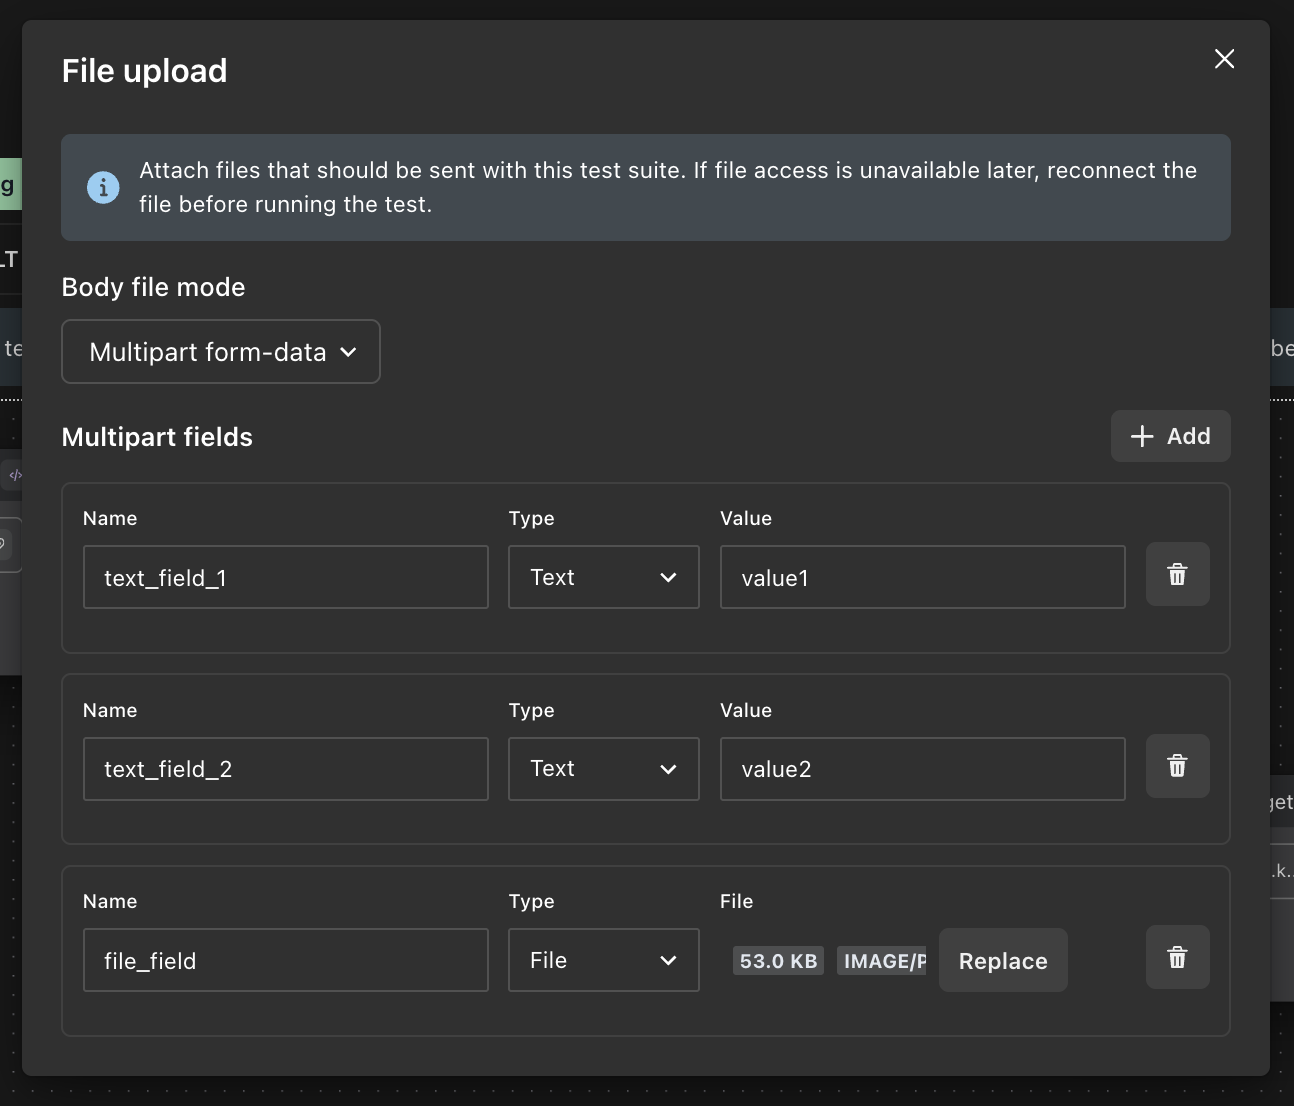
For multipart form-data, select "Multipart form-data" from the body file mode dropdown and specify the multipart fields. For each field, add the field key ("Name" section), choose the field type ("Type" section) as "Text" or "File", and then either enter the text value or attach the file based on the selected type.
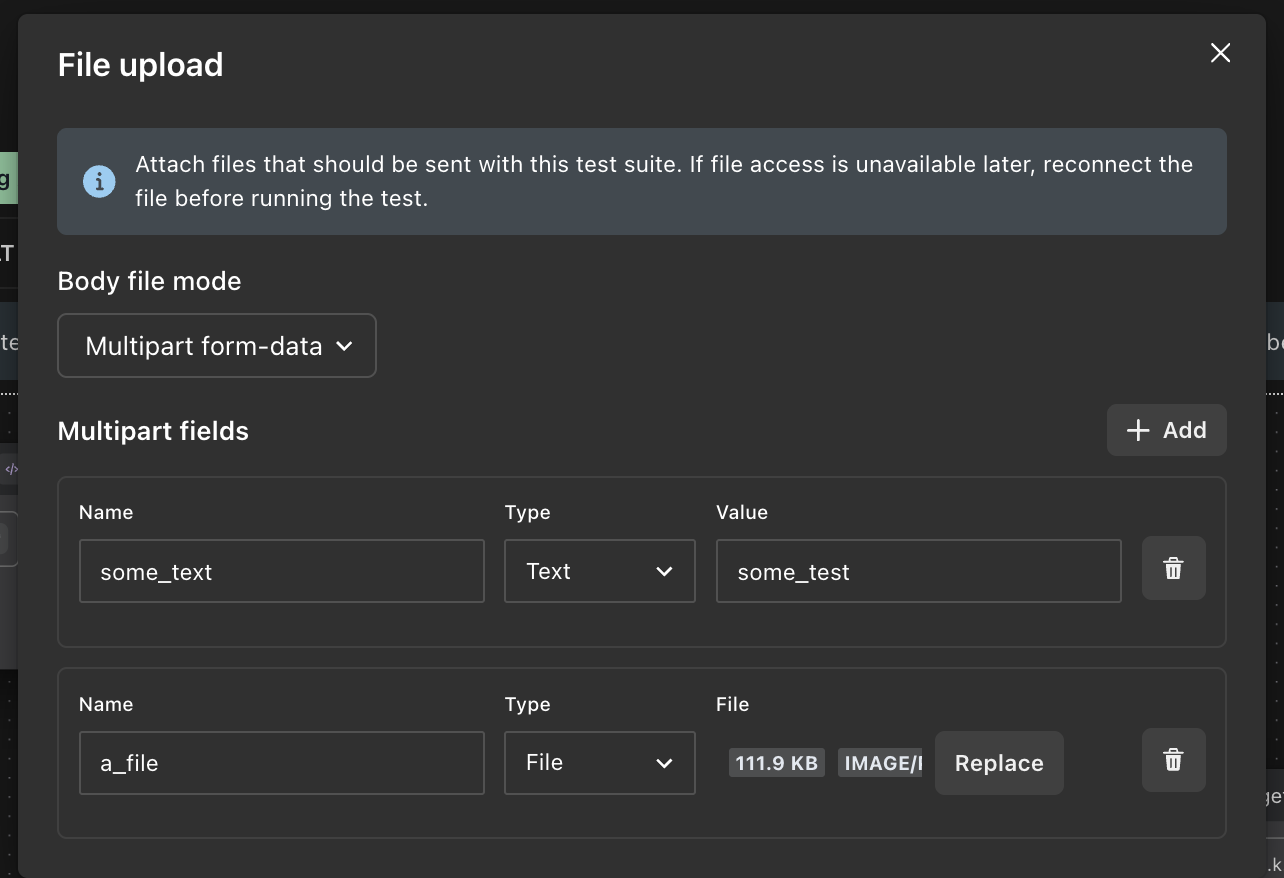
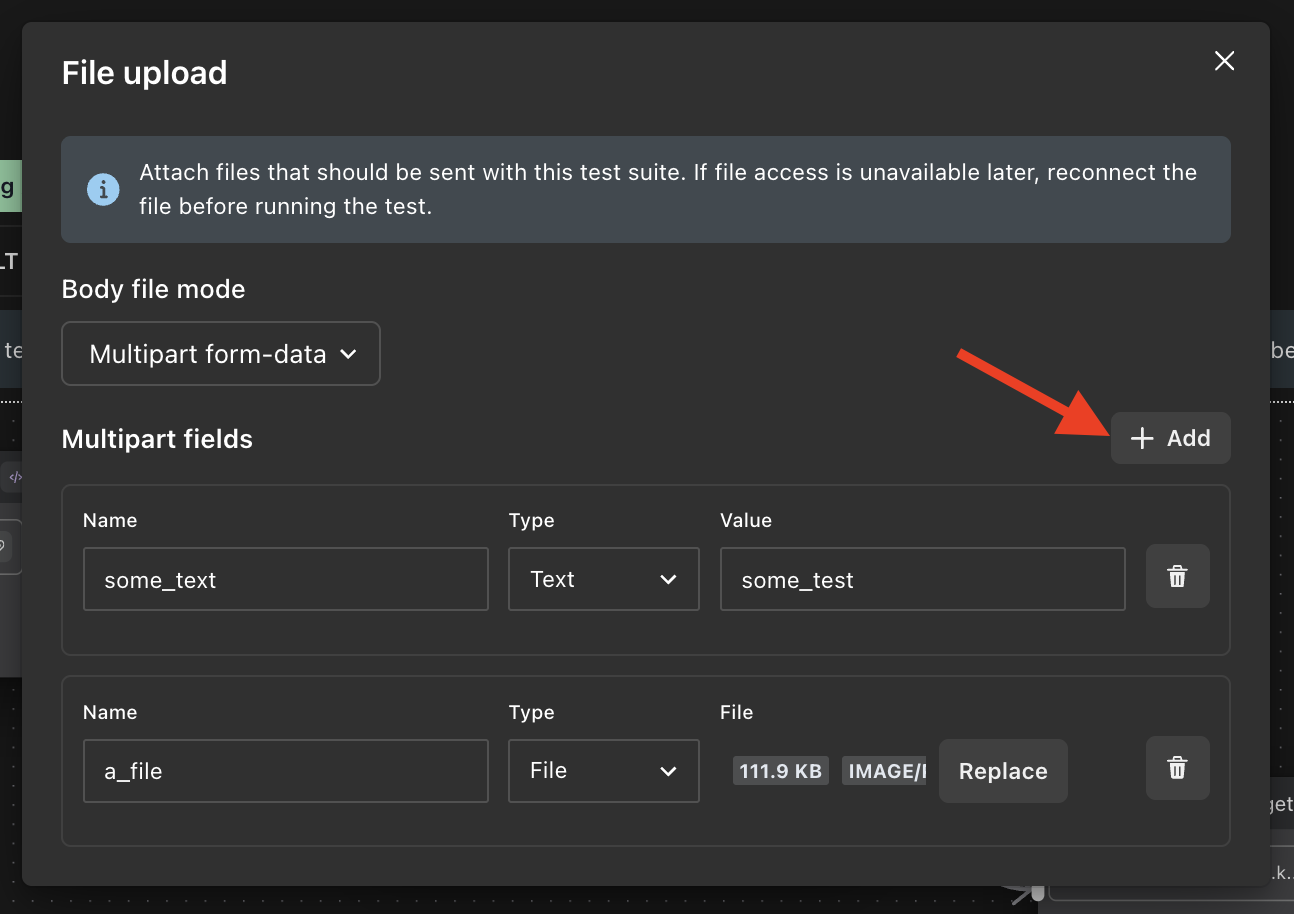
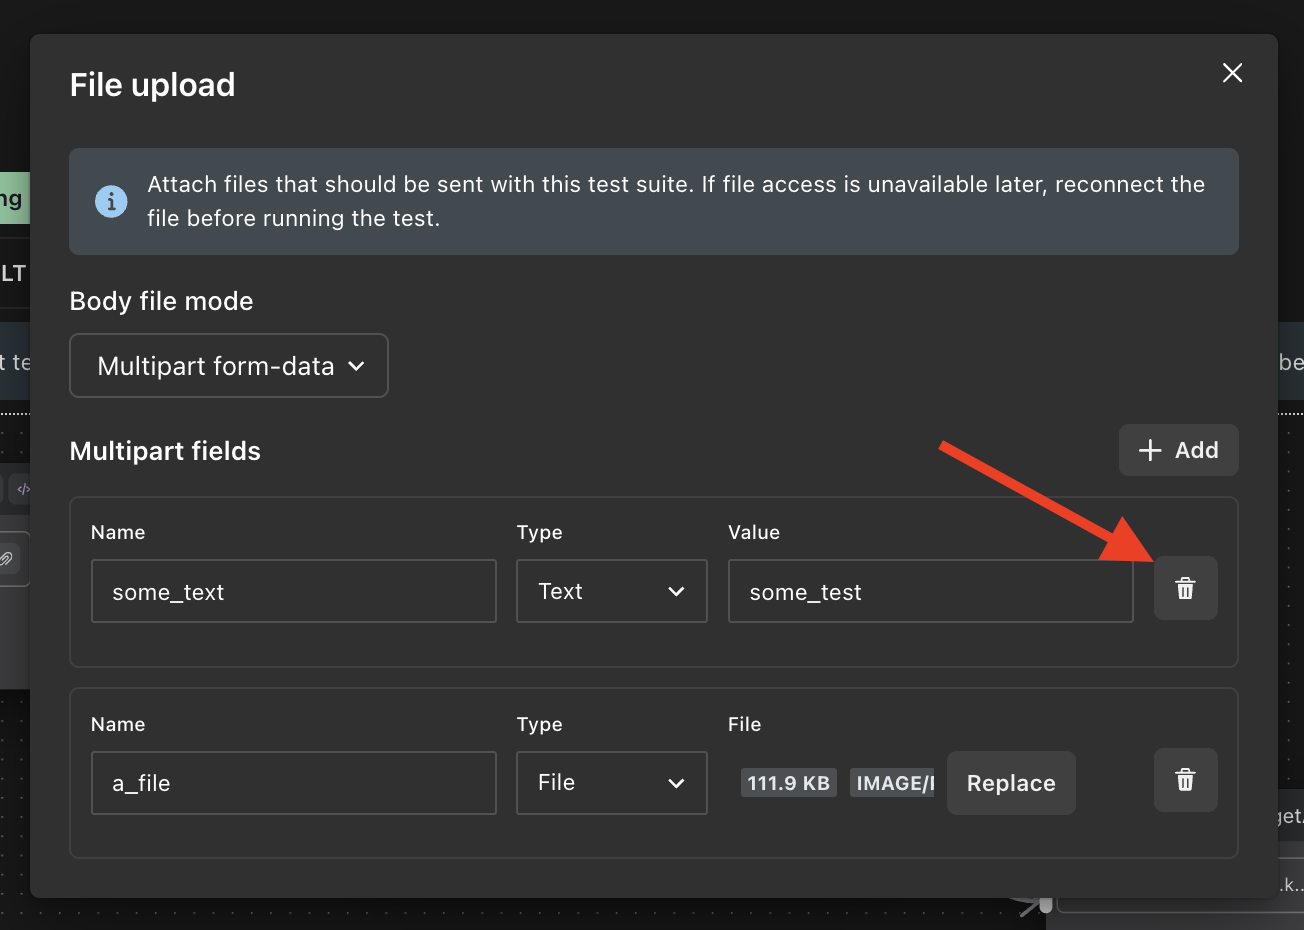
Use the add button to add more fields, or the delete button to remove fields.
The configuration autosaves when you close the file upload panel.
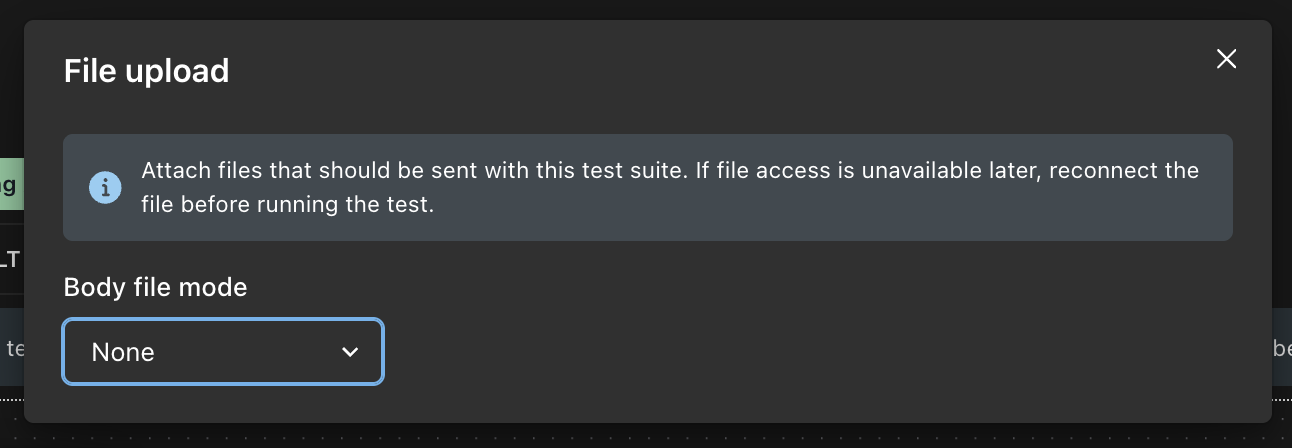
To remove the file upload configuration, set the body file mode dropdown to "None".
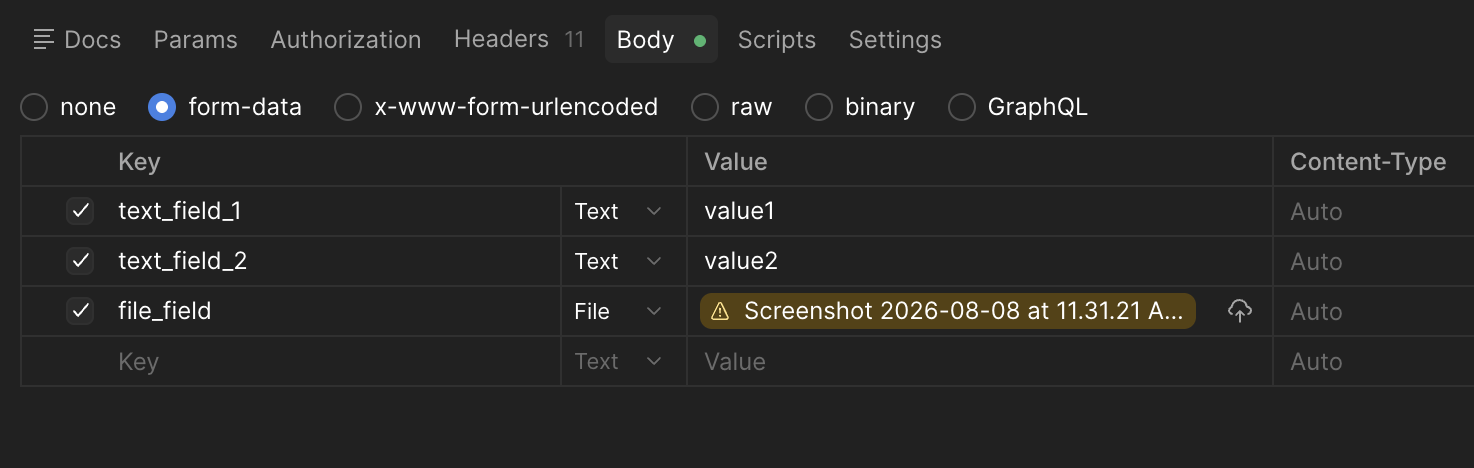
For multipart payloads, configure every field that must be sent. For example, if the same request in Postman has three fields, two text fields and one file field, you need to set up all three fields in Kusho: add the text fields with their key and value, and add the file field with its key and attached file.
Imported requests and existing suites
Kusho will not automatically configure file upload settings when you import a cURL command or Postman collection, or for existing test suites and E2E workflows that you have already set up. You need to configure the file upload body manually one time using the steps above.
Automatic import of file upload settings from Postman and cURL is work in progress.
Suite-level and test-case-level configuration
The file upload setup described above is a test suite-level configuration. Once you configure it, all test cases in that test suite use the same file upload settings by default.
If a specific test case needs different file upload settings, click the file icon under "Actions" in that test case row and configure the upload there. The test case-level setup overrides the test suite-level file upload settings for that test case only.
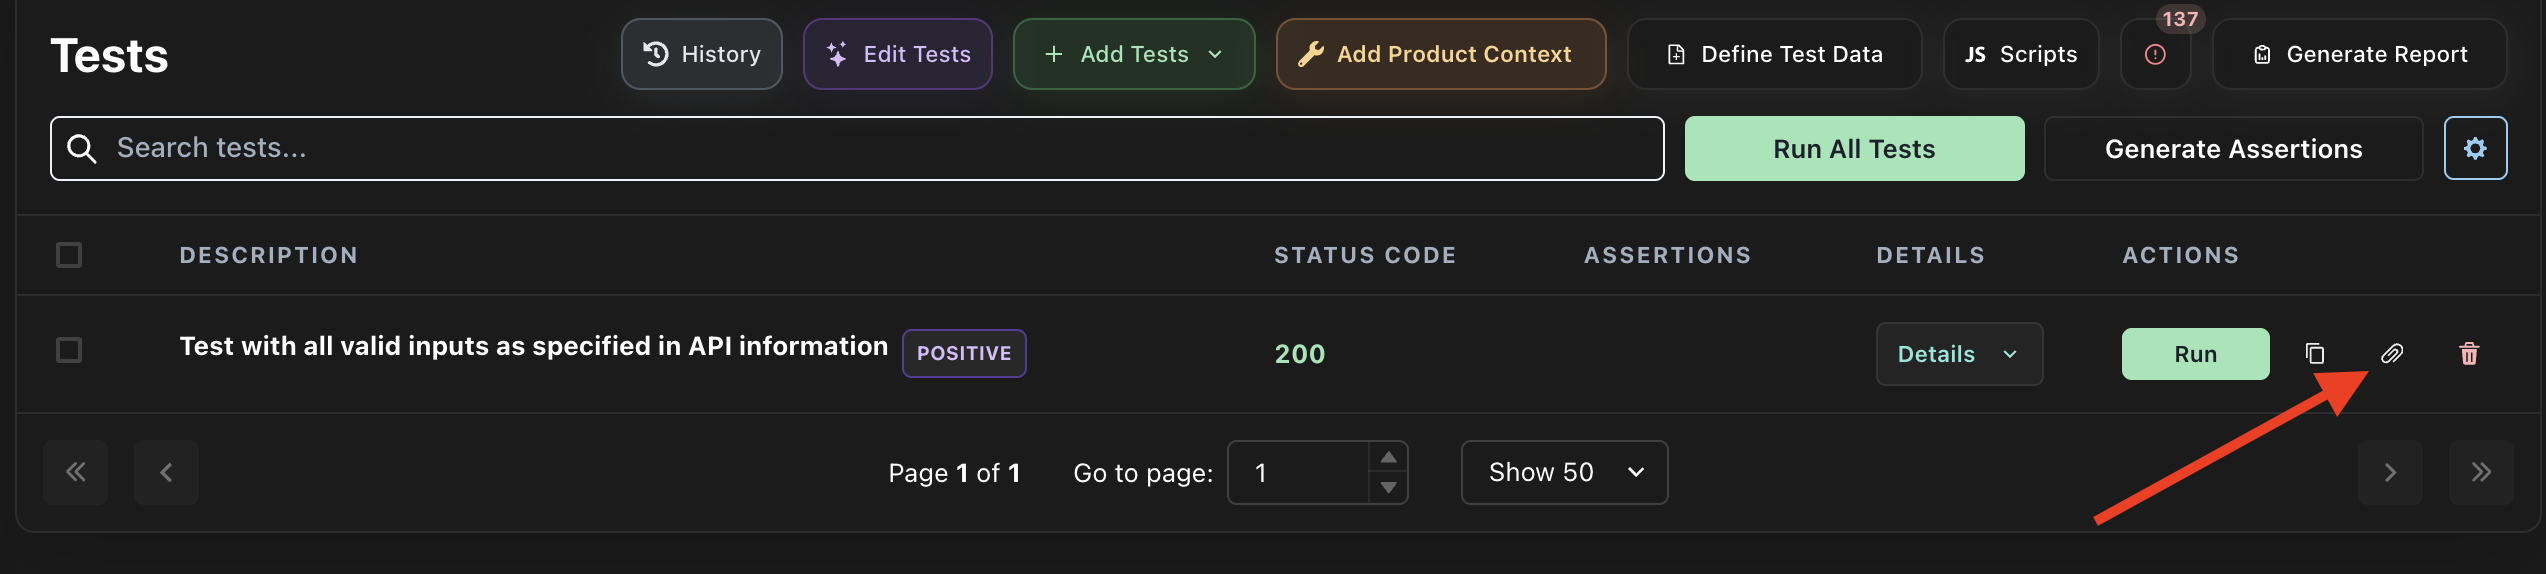
This override does not affect the other test cases in the suite. They continue to use the file upload settings configured at the test suite level.
Local file access
File upload settings are local for now. If someone else uses the same test suite, they need to do a one-time setup on their own machine: for binary requests, select the binary file body type and attach the file; for multipart requests, select multipart and add all text and file fields in the payload.
Your browser may ask for permission to access the selected files. Choose "Allow every time" so you don't have to approve access again for each run.
In future, we plan to support persisting this configuration and making it available to all users of the test suite workspace. File attachment itself will still remain local.